Most of my hobby stuff is packed away as we’re planning to put the house on the market very soon. However I did keep a few bits and bobs handy for if I ever did get a break from the chaos to have a little hobby time. Tonight was such a time and I decided to crack out my 2mm Crimean figures for a trial run at Keith Flint’s new Napoleonic ruleset, Shadow of the Eagles. The rules are still in development and are available to download for free if you join the SotE group.
Firstly an apology to the author who is avidly not a fan of 2mm figures, however as it is the closest I have to anything vaguely Napoleonic, I’m sure he’ll forgive me!
The ruleset is aimed at novice gamers and particularly those who have perhaps been daunted by the prospect if delving into Napoleonics given the plethora of rules, not to mention to deep historical studies and dizzying array of information out there. I definitely fall into this camp and Napoleonics is an era I’ve avoided up until now. While I’m still not ready to dive in (2021 perhaps…) I am ready to dip my toes in the waters and this seems as good a place to start as any.
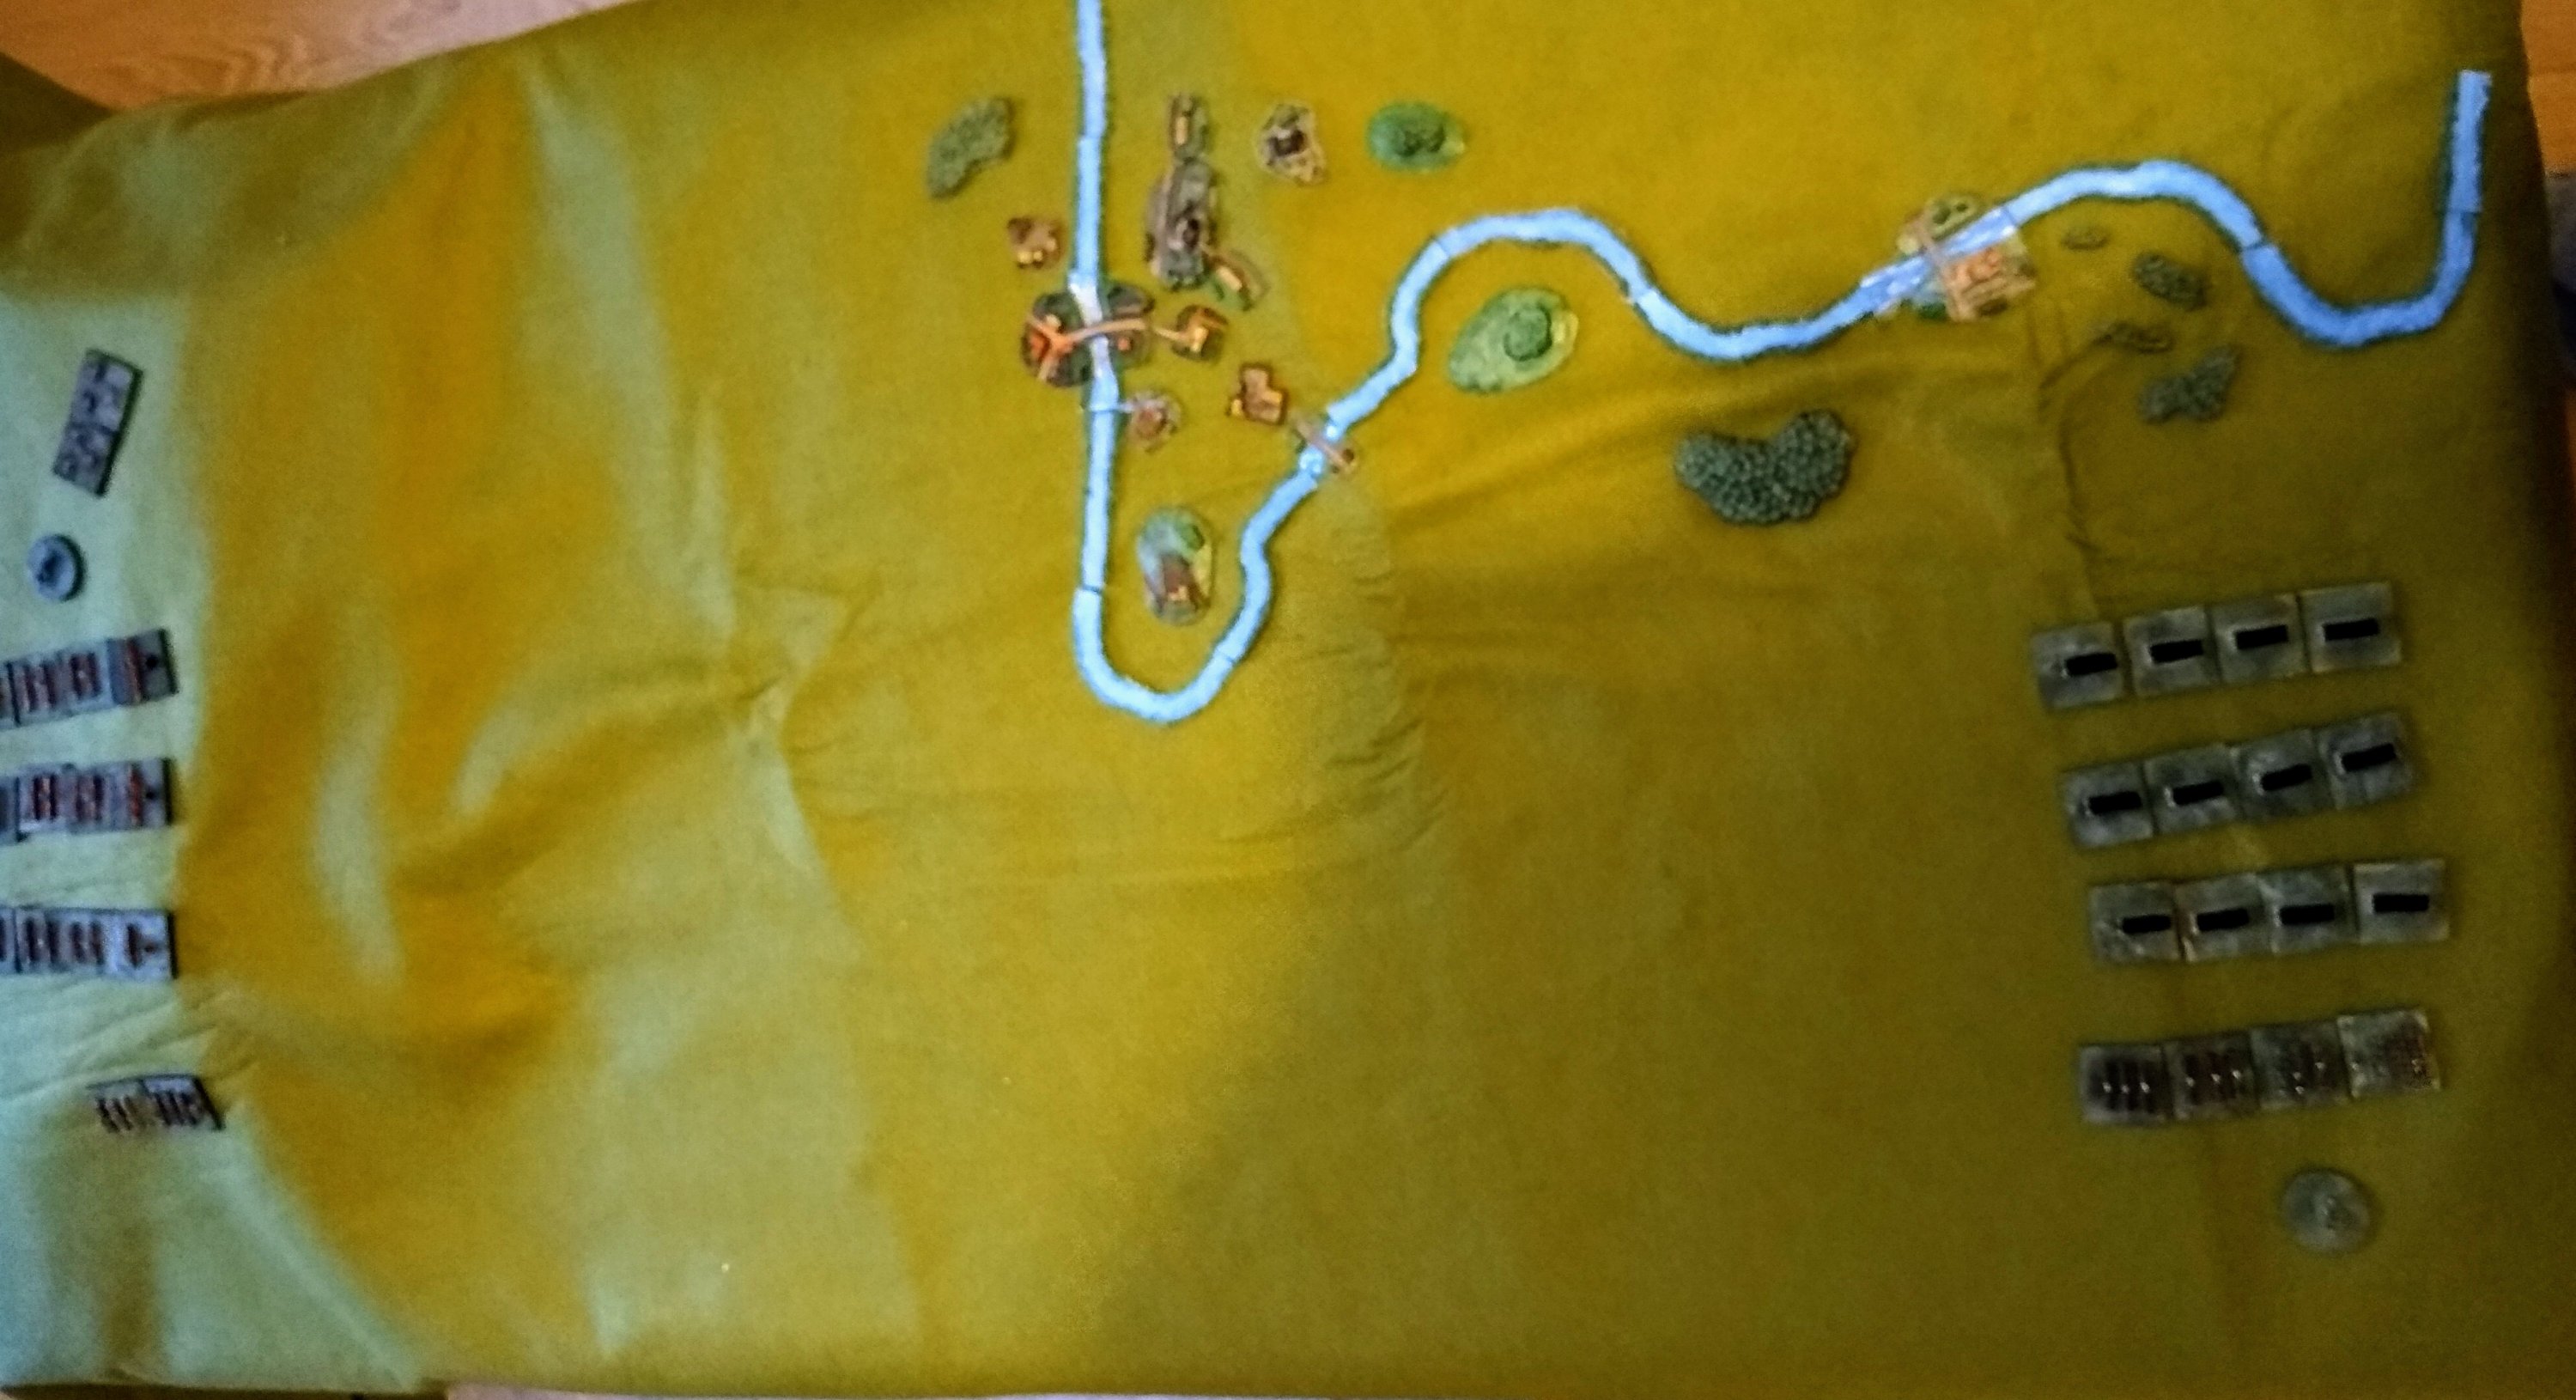
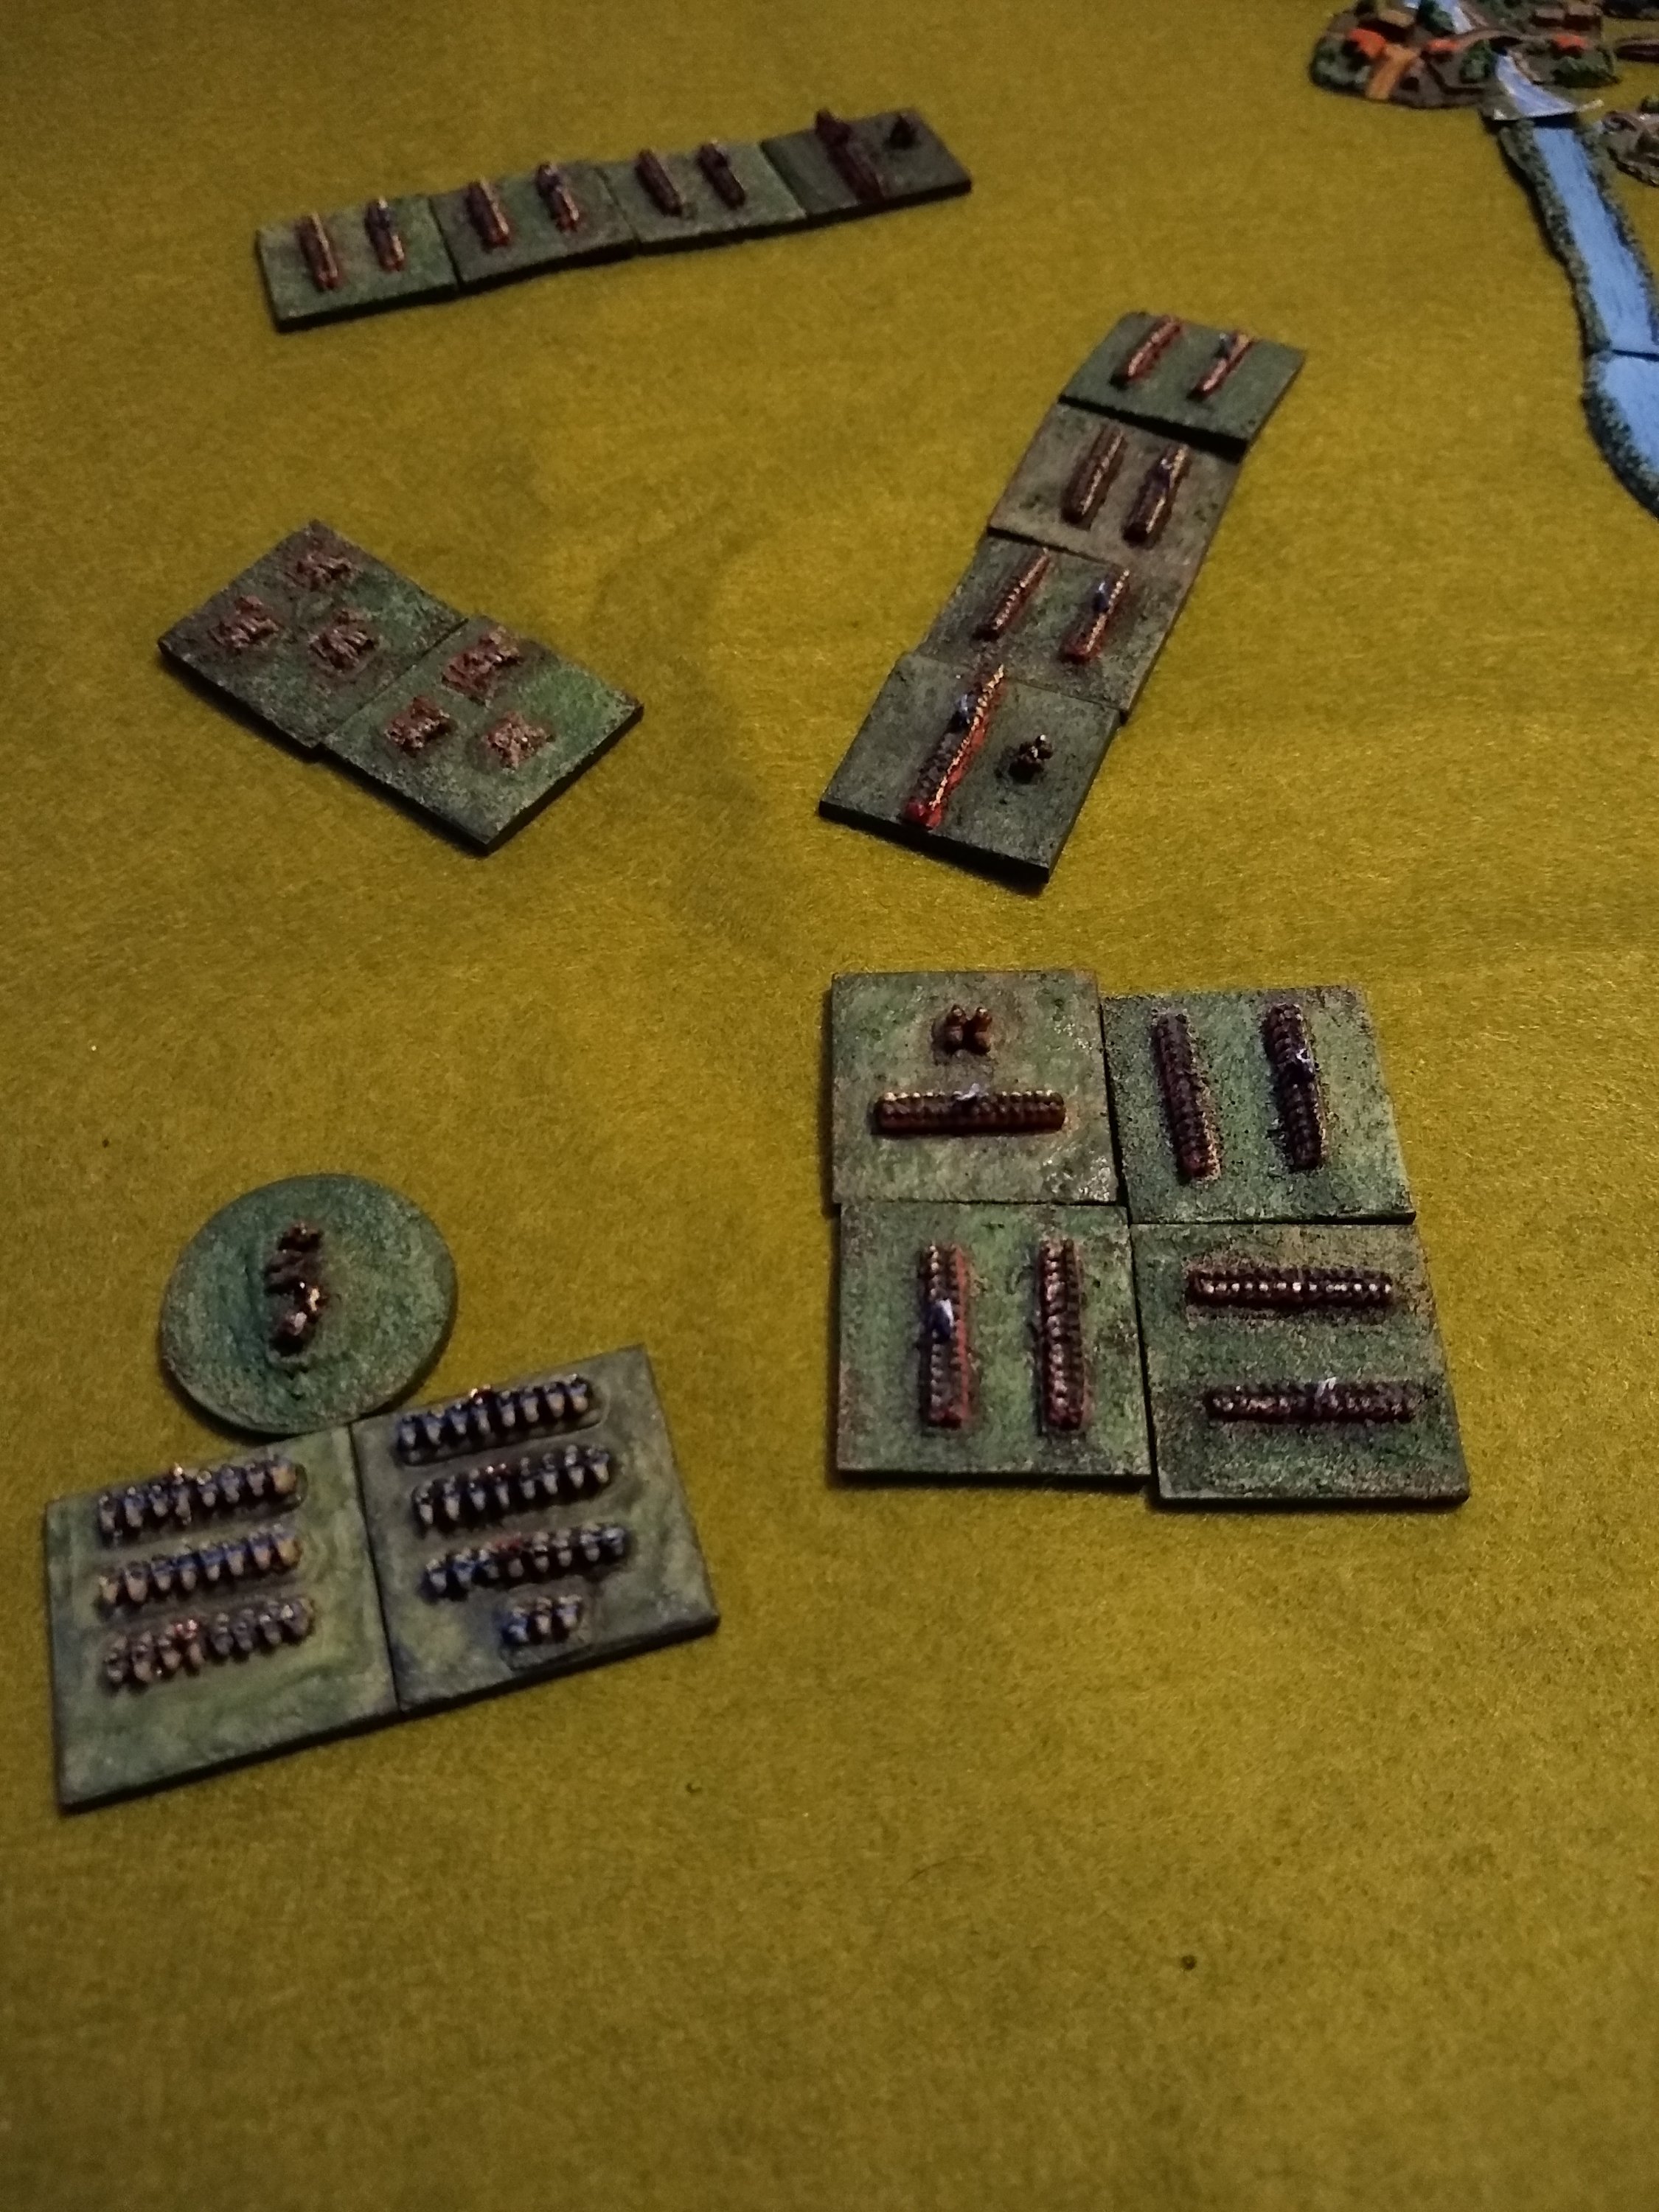
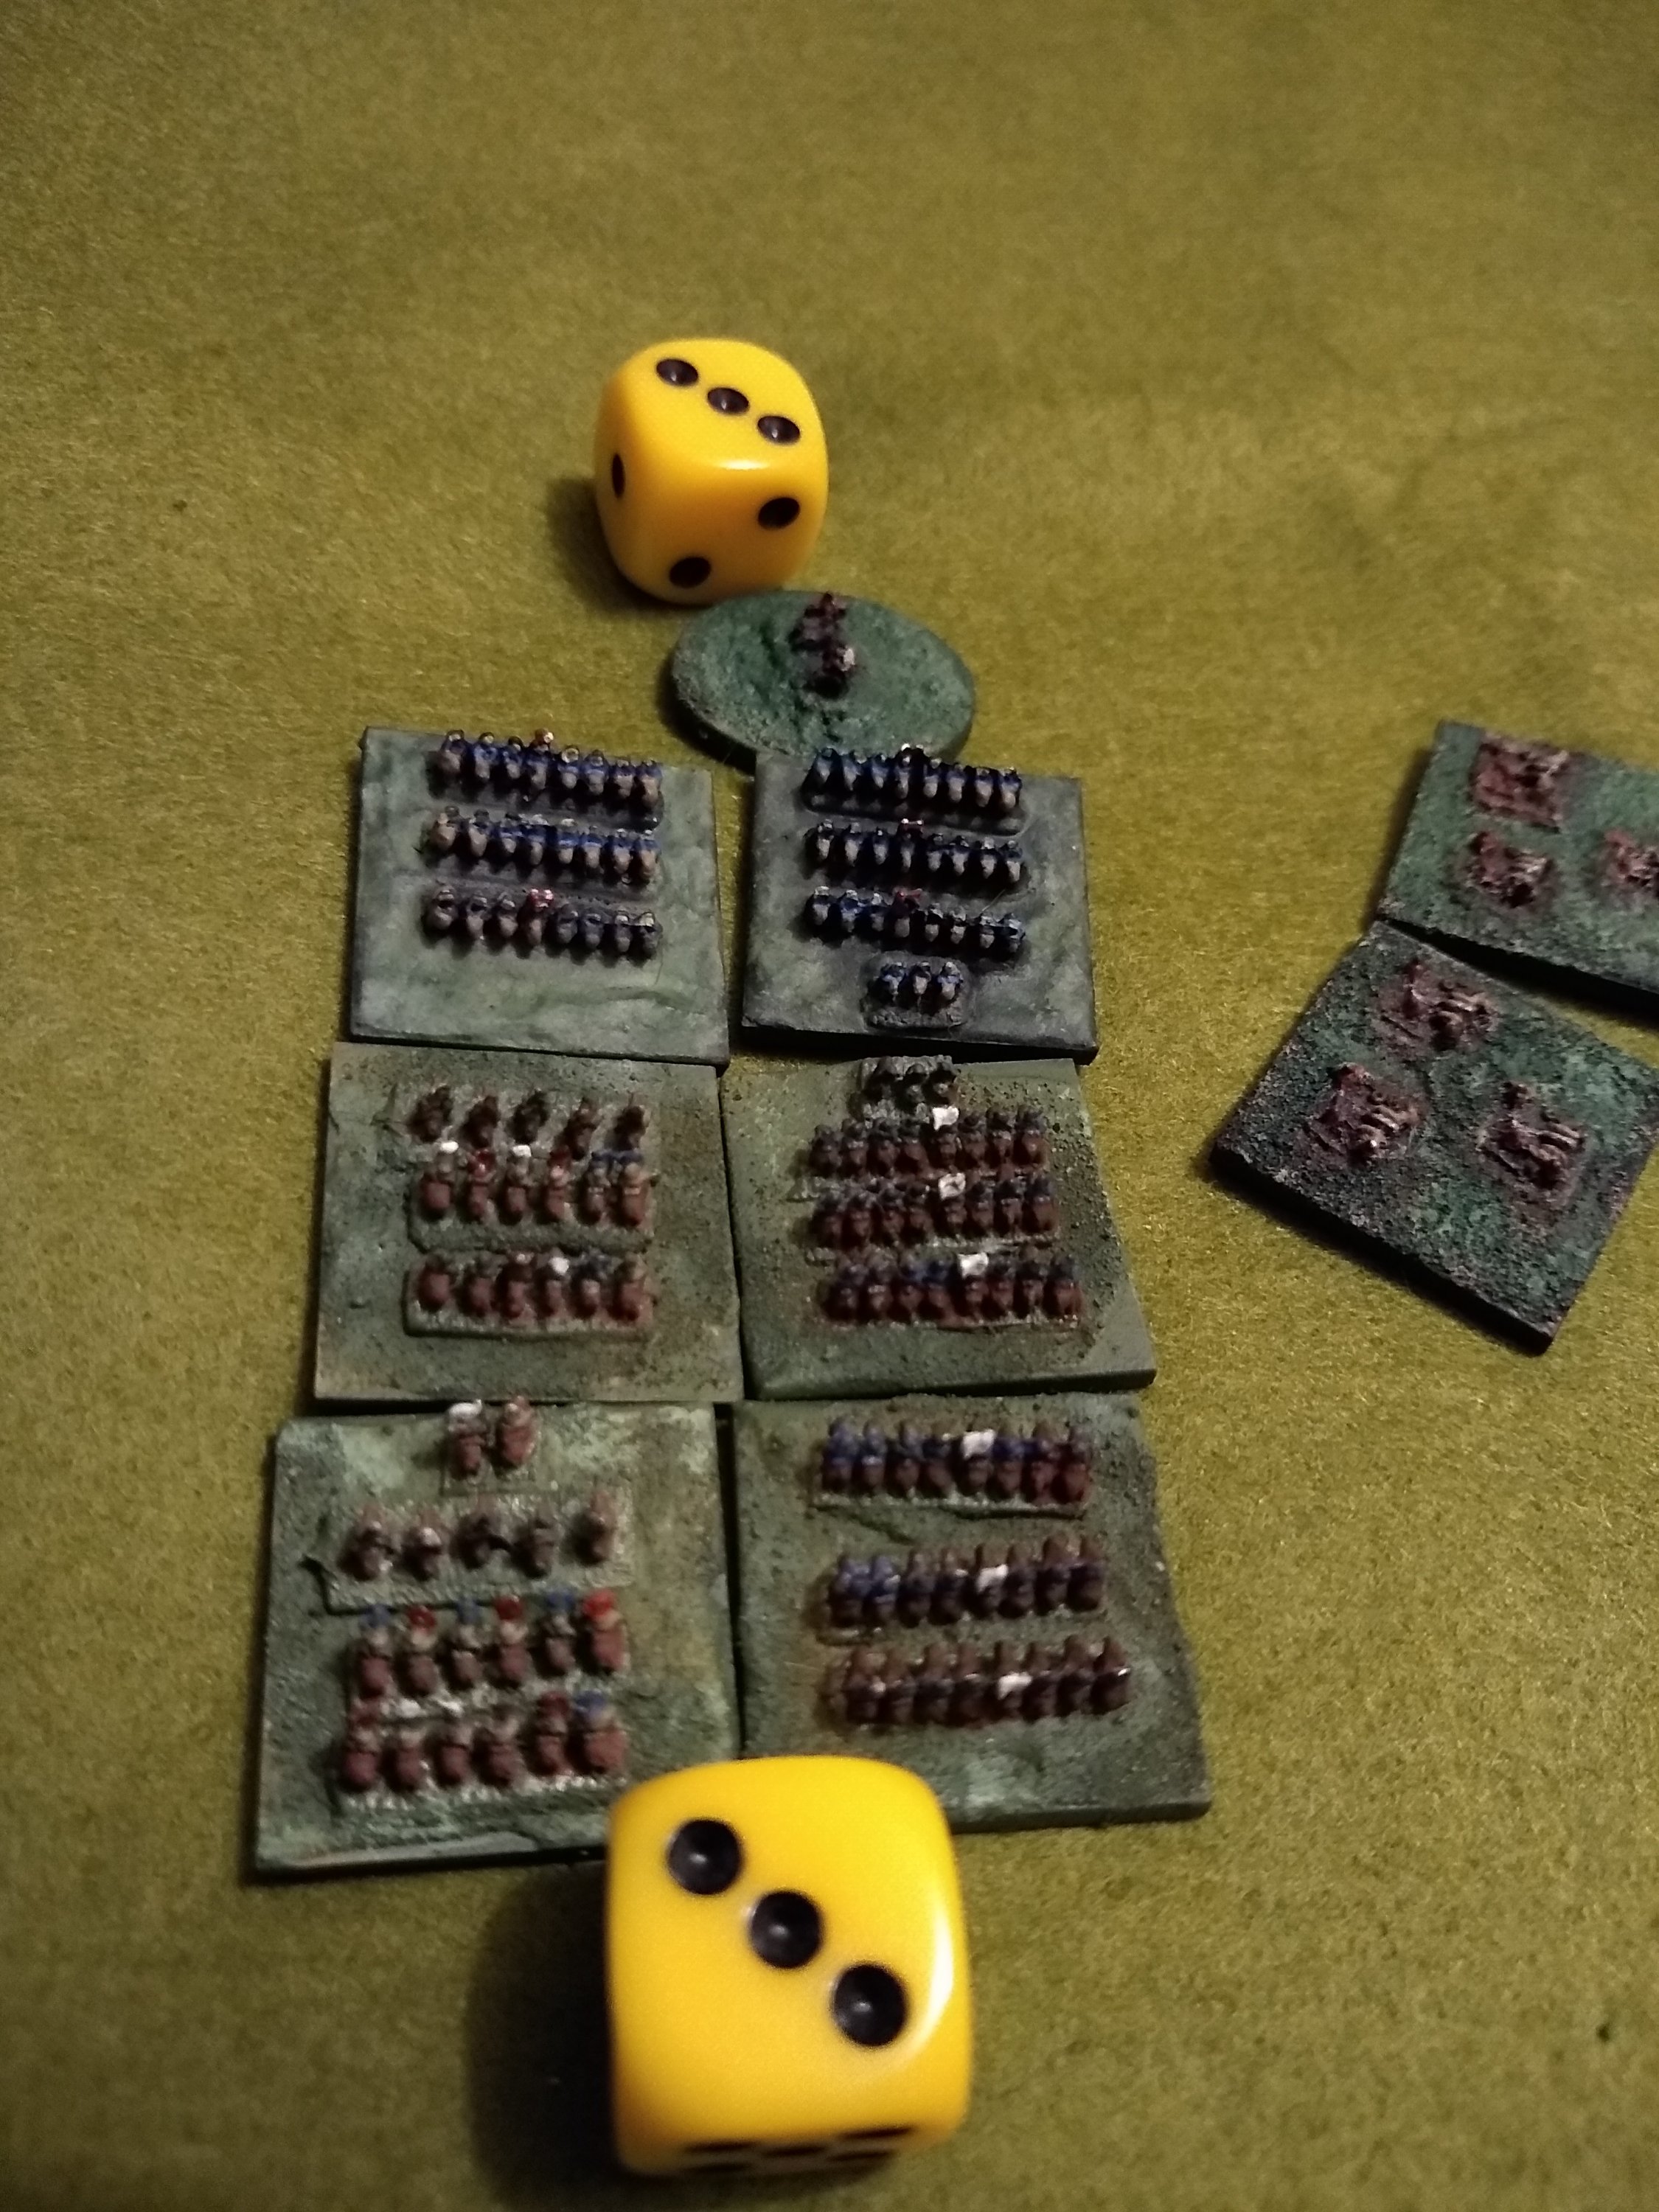
As the army lists and historical background parts of the rules are still to be published I cobbled together a couple of small forces from what I had to hand. I just had one division (brigade? I should really learn the proper terms someday) per side. In the red corner three units of infantry are supported by a half unit of heavy cavalry and some artillery. In the brown corner, three units of infantry and a full size unit of heavy cavalry bear down on the field. Everyone is standard and capable to keep things simple, I’ll experiment with troop and general quality another time.
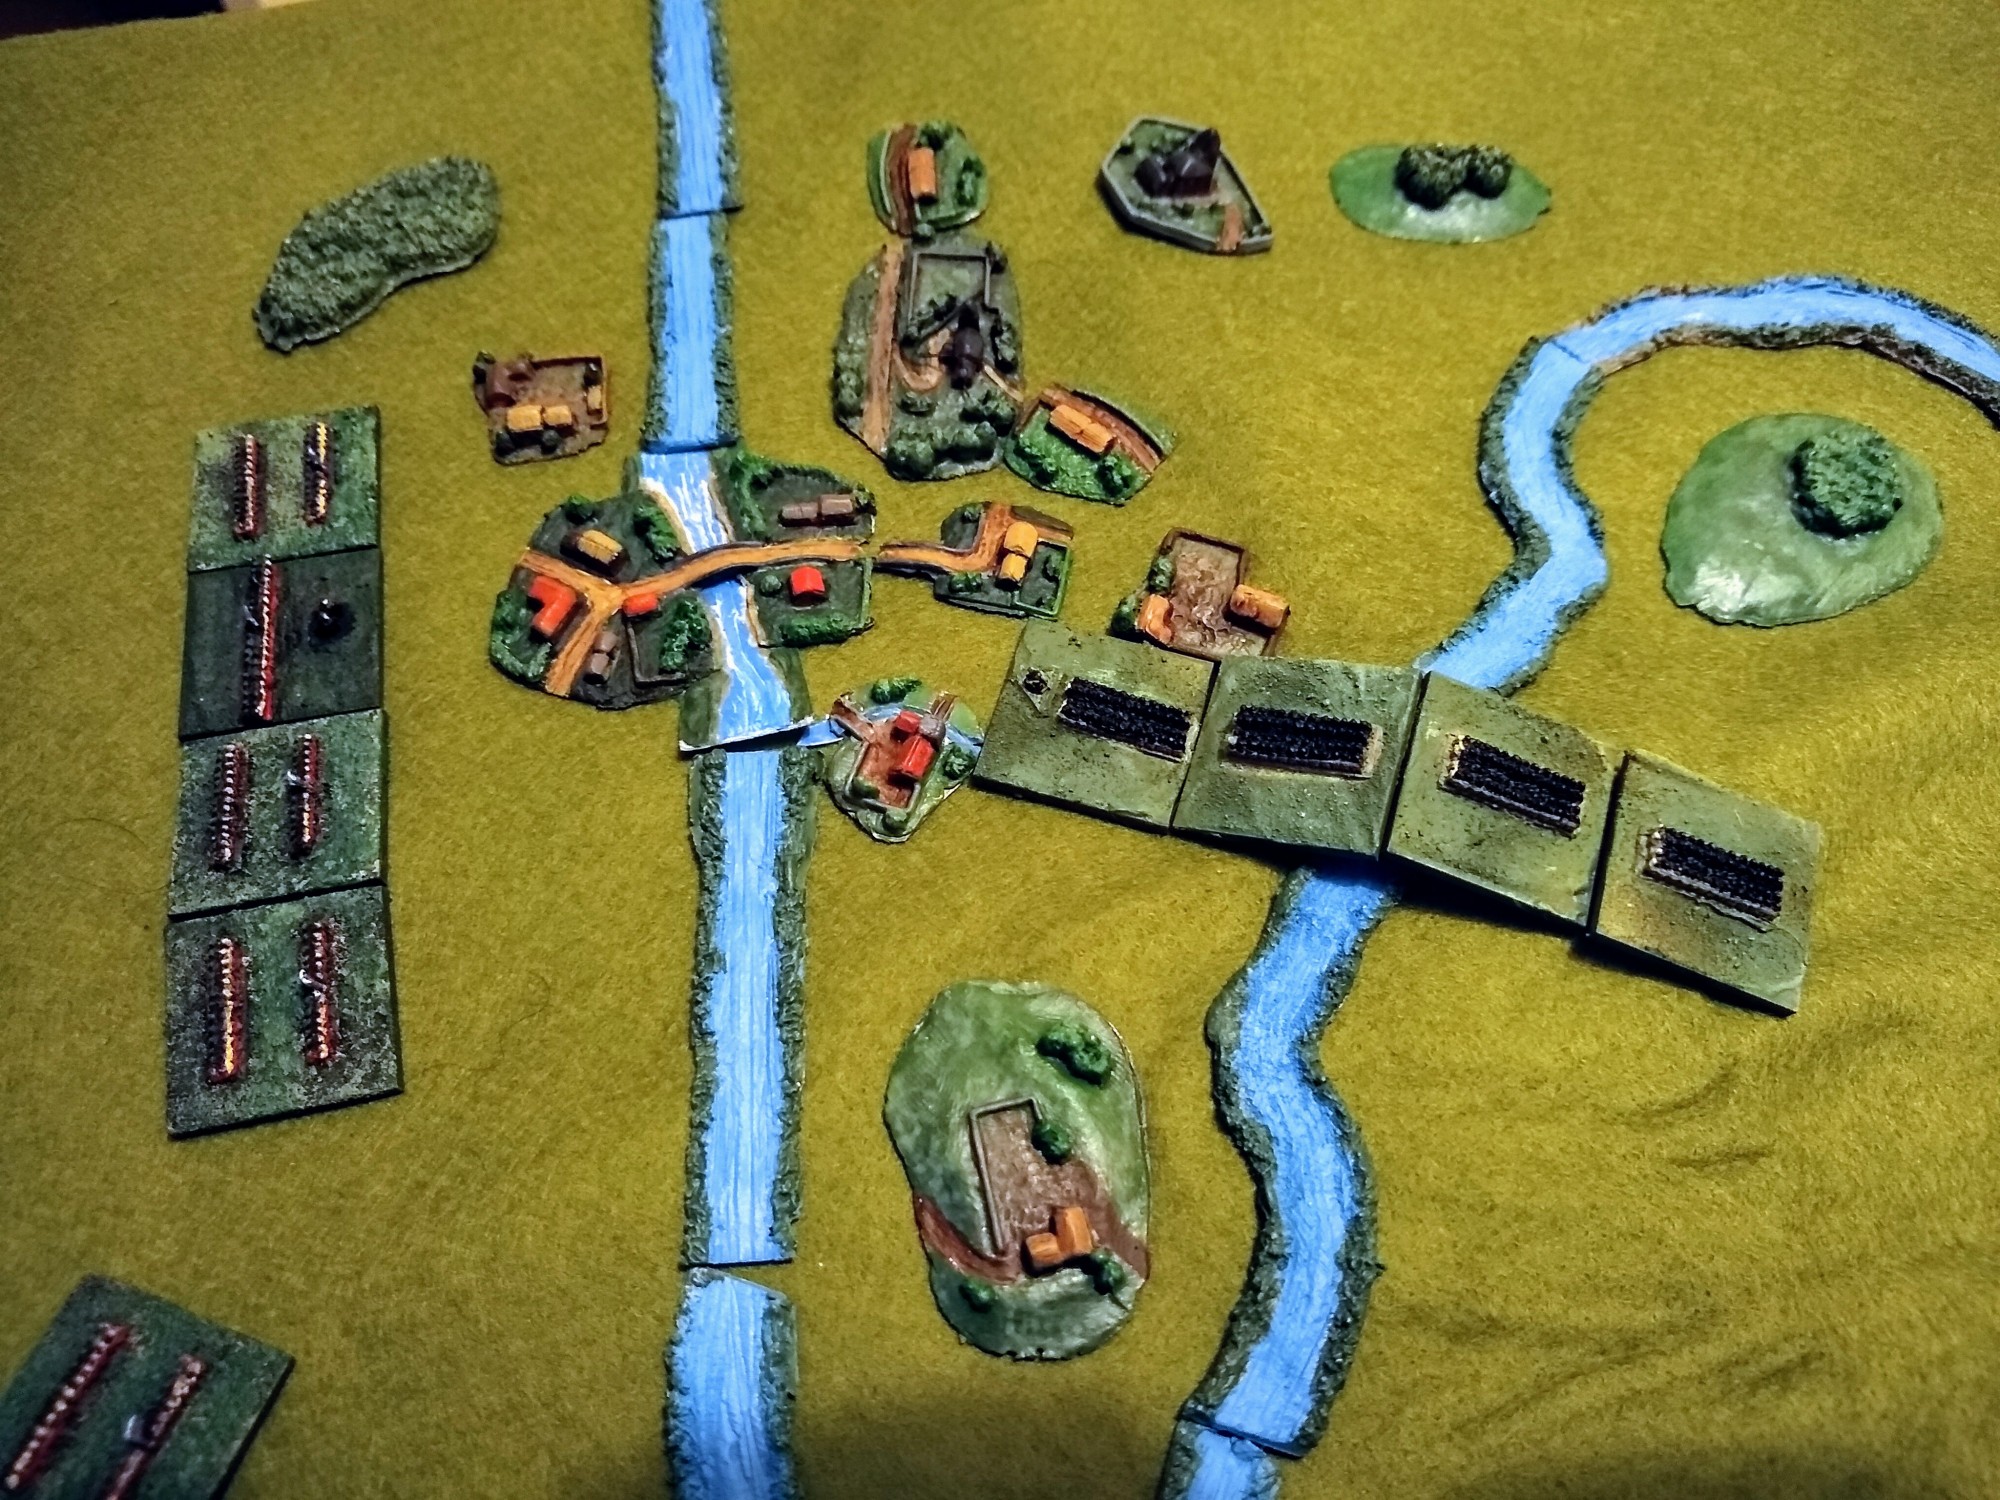
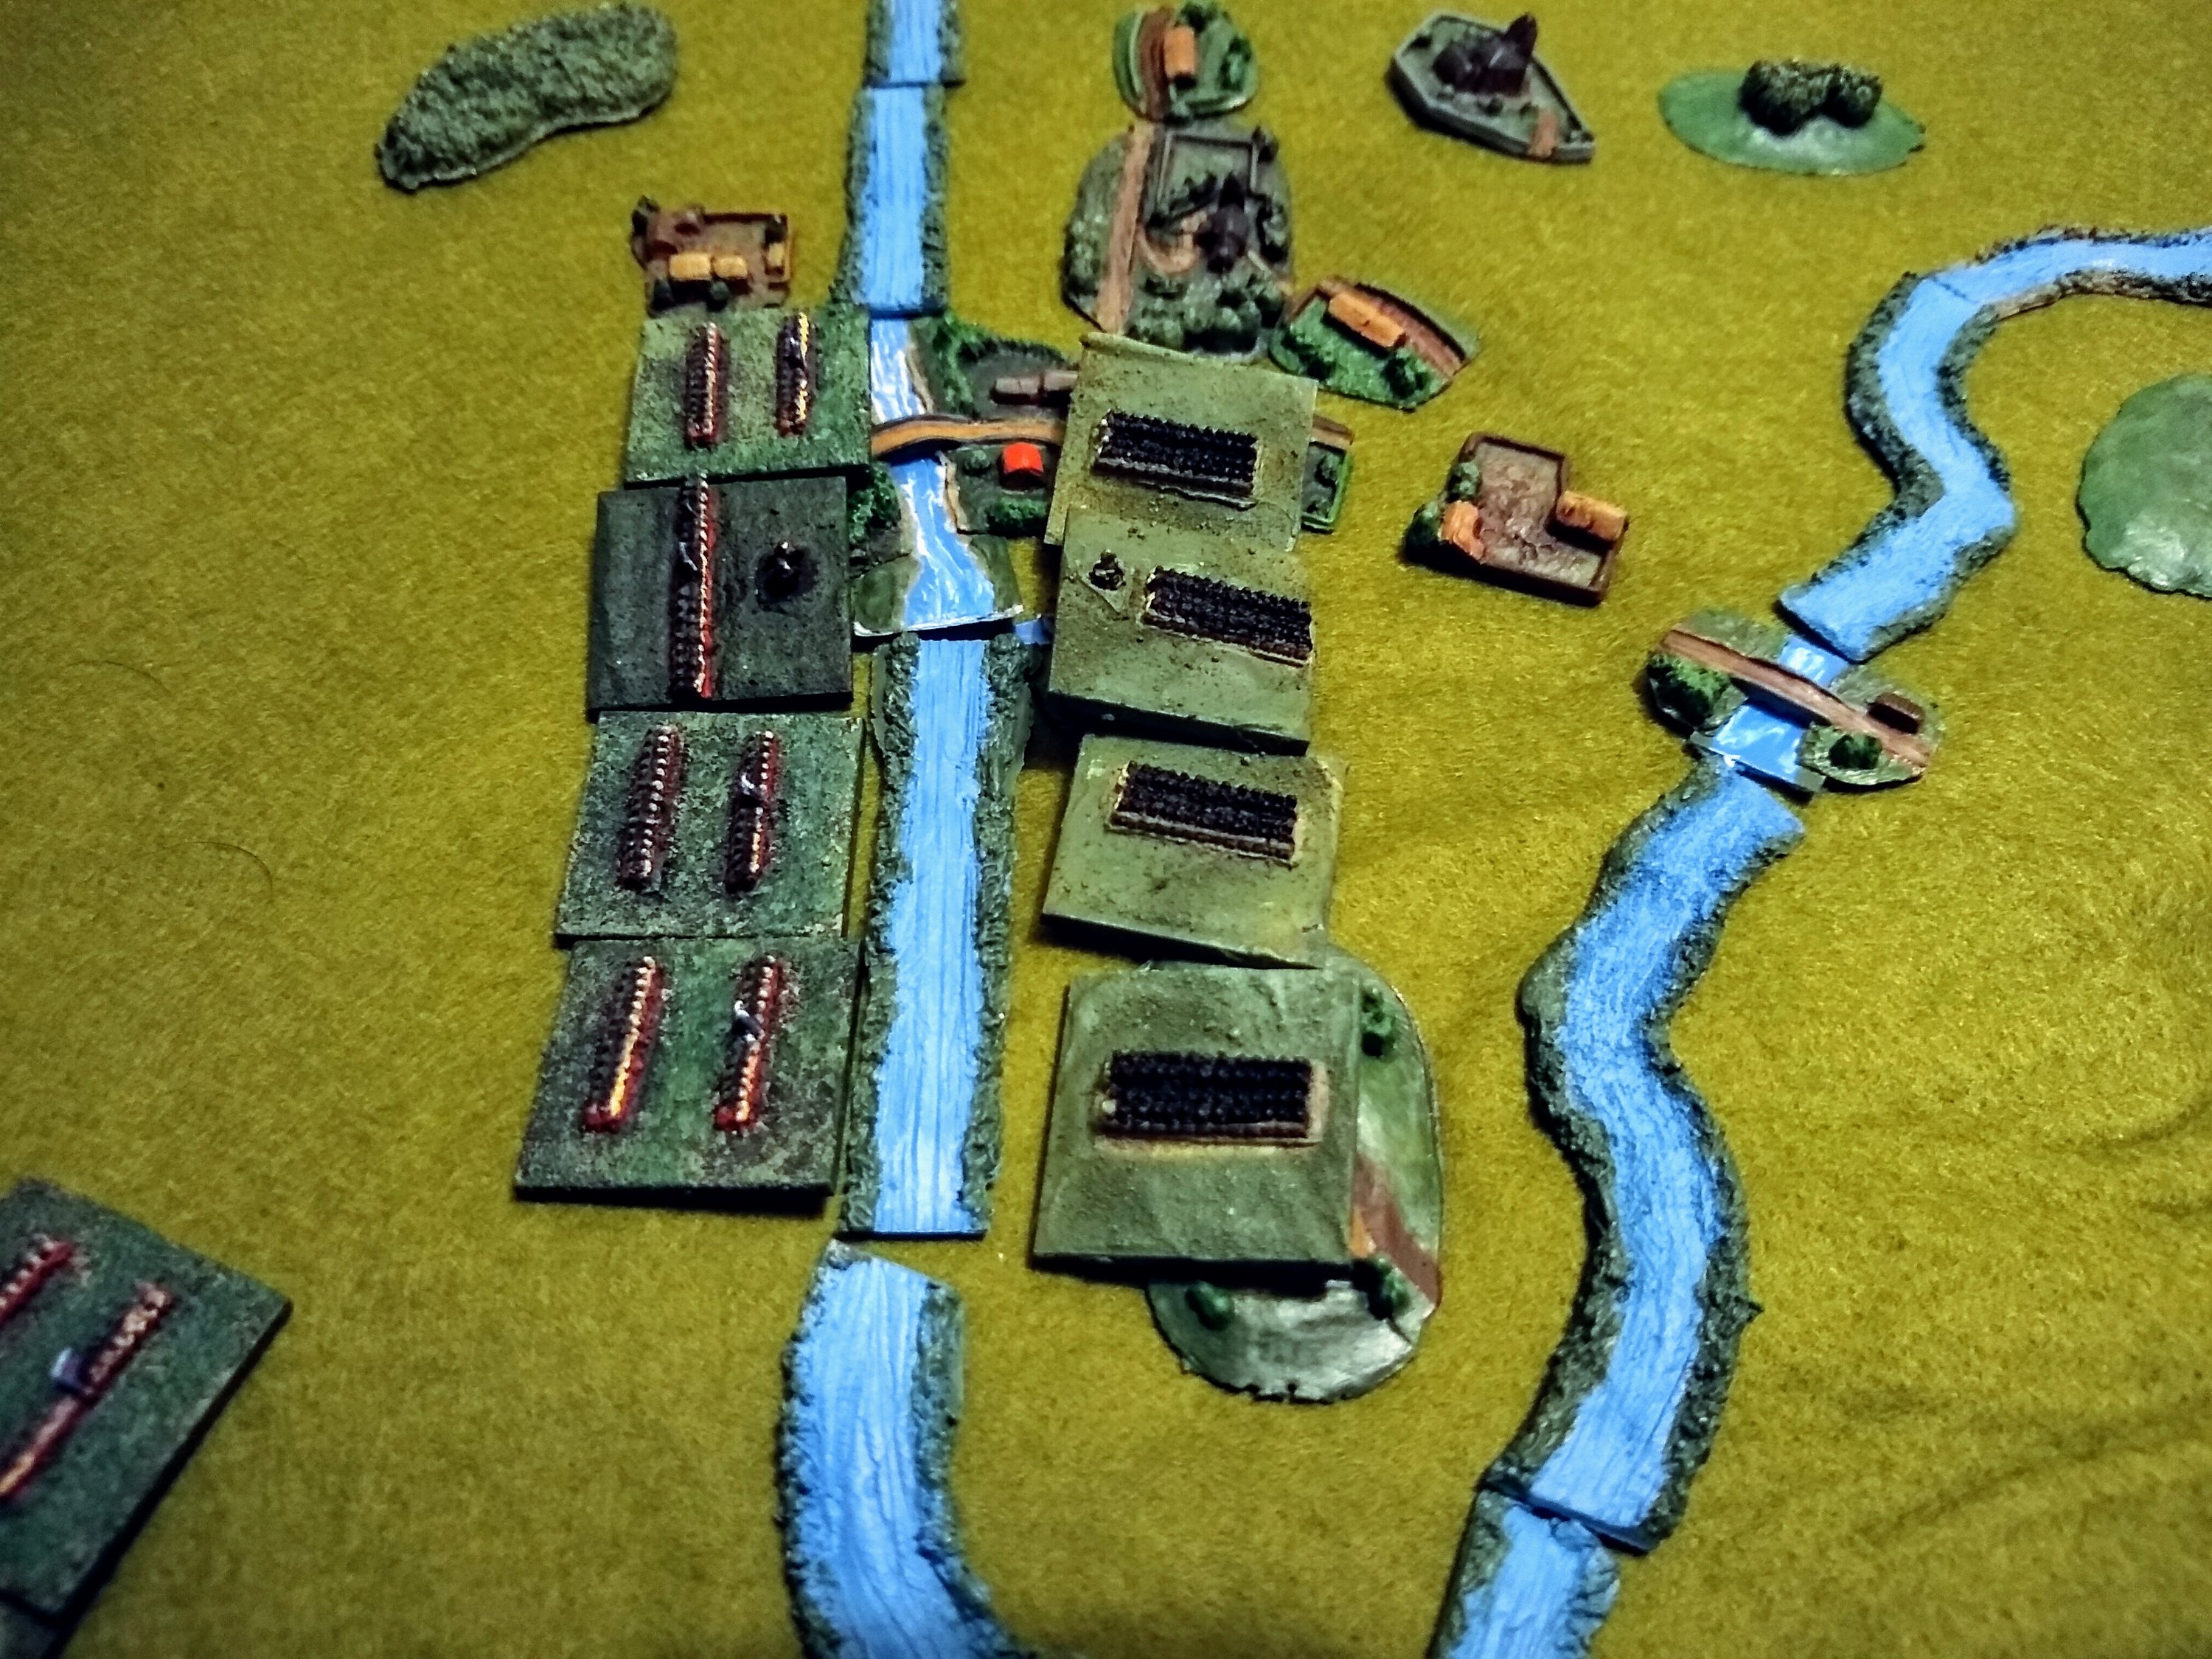
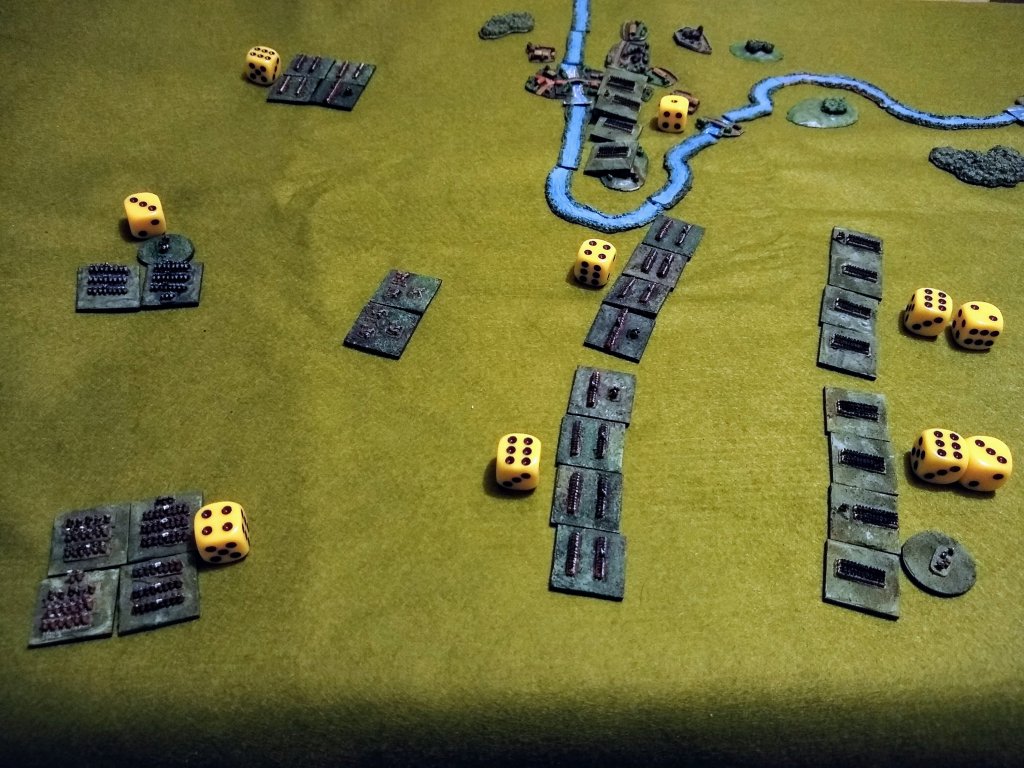
The Redovian Commonwealth and the Kingdom of Brunvinia have gone to war and as the Marshal’s mobilise their grand armies, small strike forces are sent out to seize key strategic interests. One of these is the sleepy town of Bridgepont, unremarkable but for the several crossings of the meandering Sinueuse River.

As the Redovians crest the hill to the west they spy the muddy mass of Brunvinia already descending on the town from the east.
General Sir “Ruddy” Hughes orders the red jacketed troops forwards to try and intercept but General Korichnevyy of Brunvinia seizes on the initiative and splits one unit off to occupy the town while the rest of his forces move with great elan towards the enemy. Ruddy attempts to rush one of his own units towards the town while the rest skirt round a bend in the river to face the enemy assault.
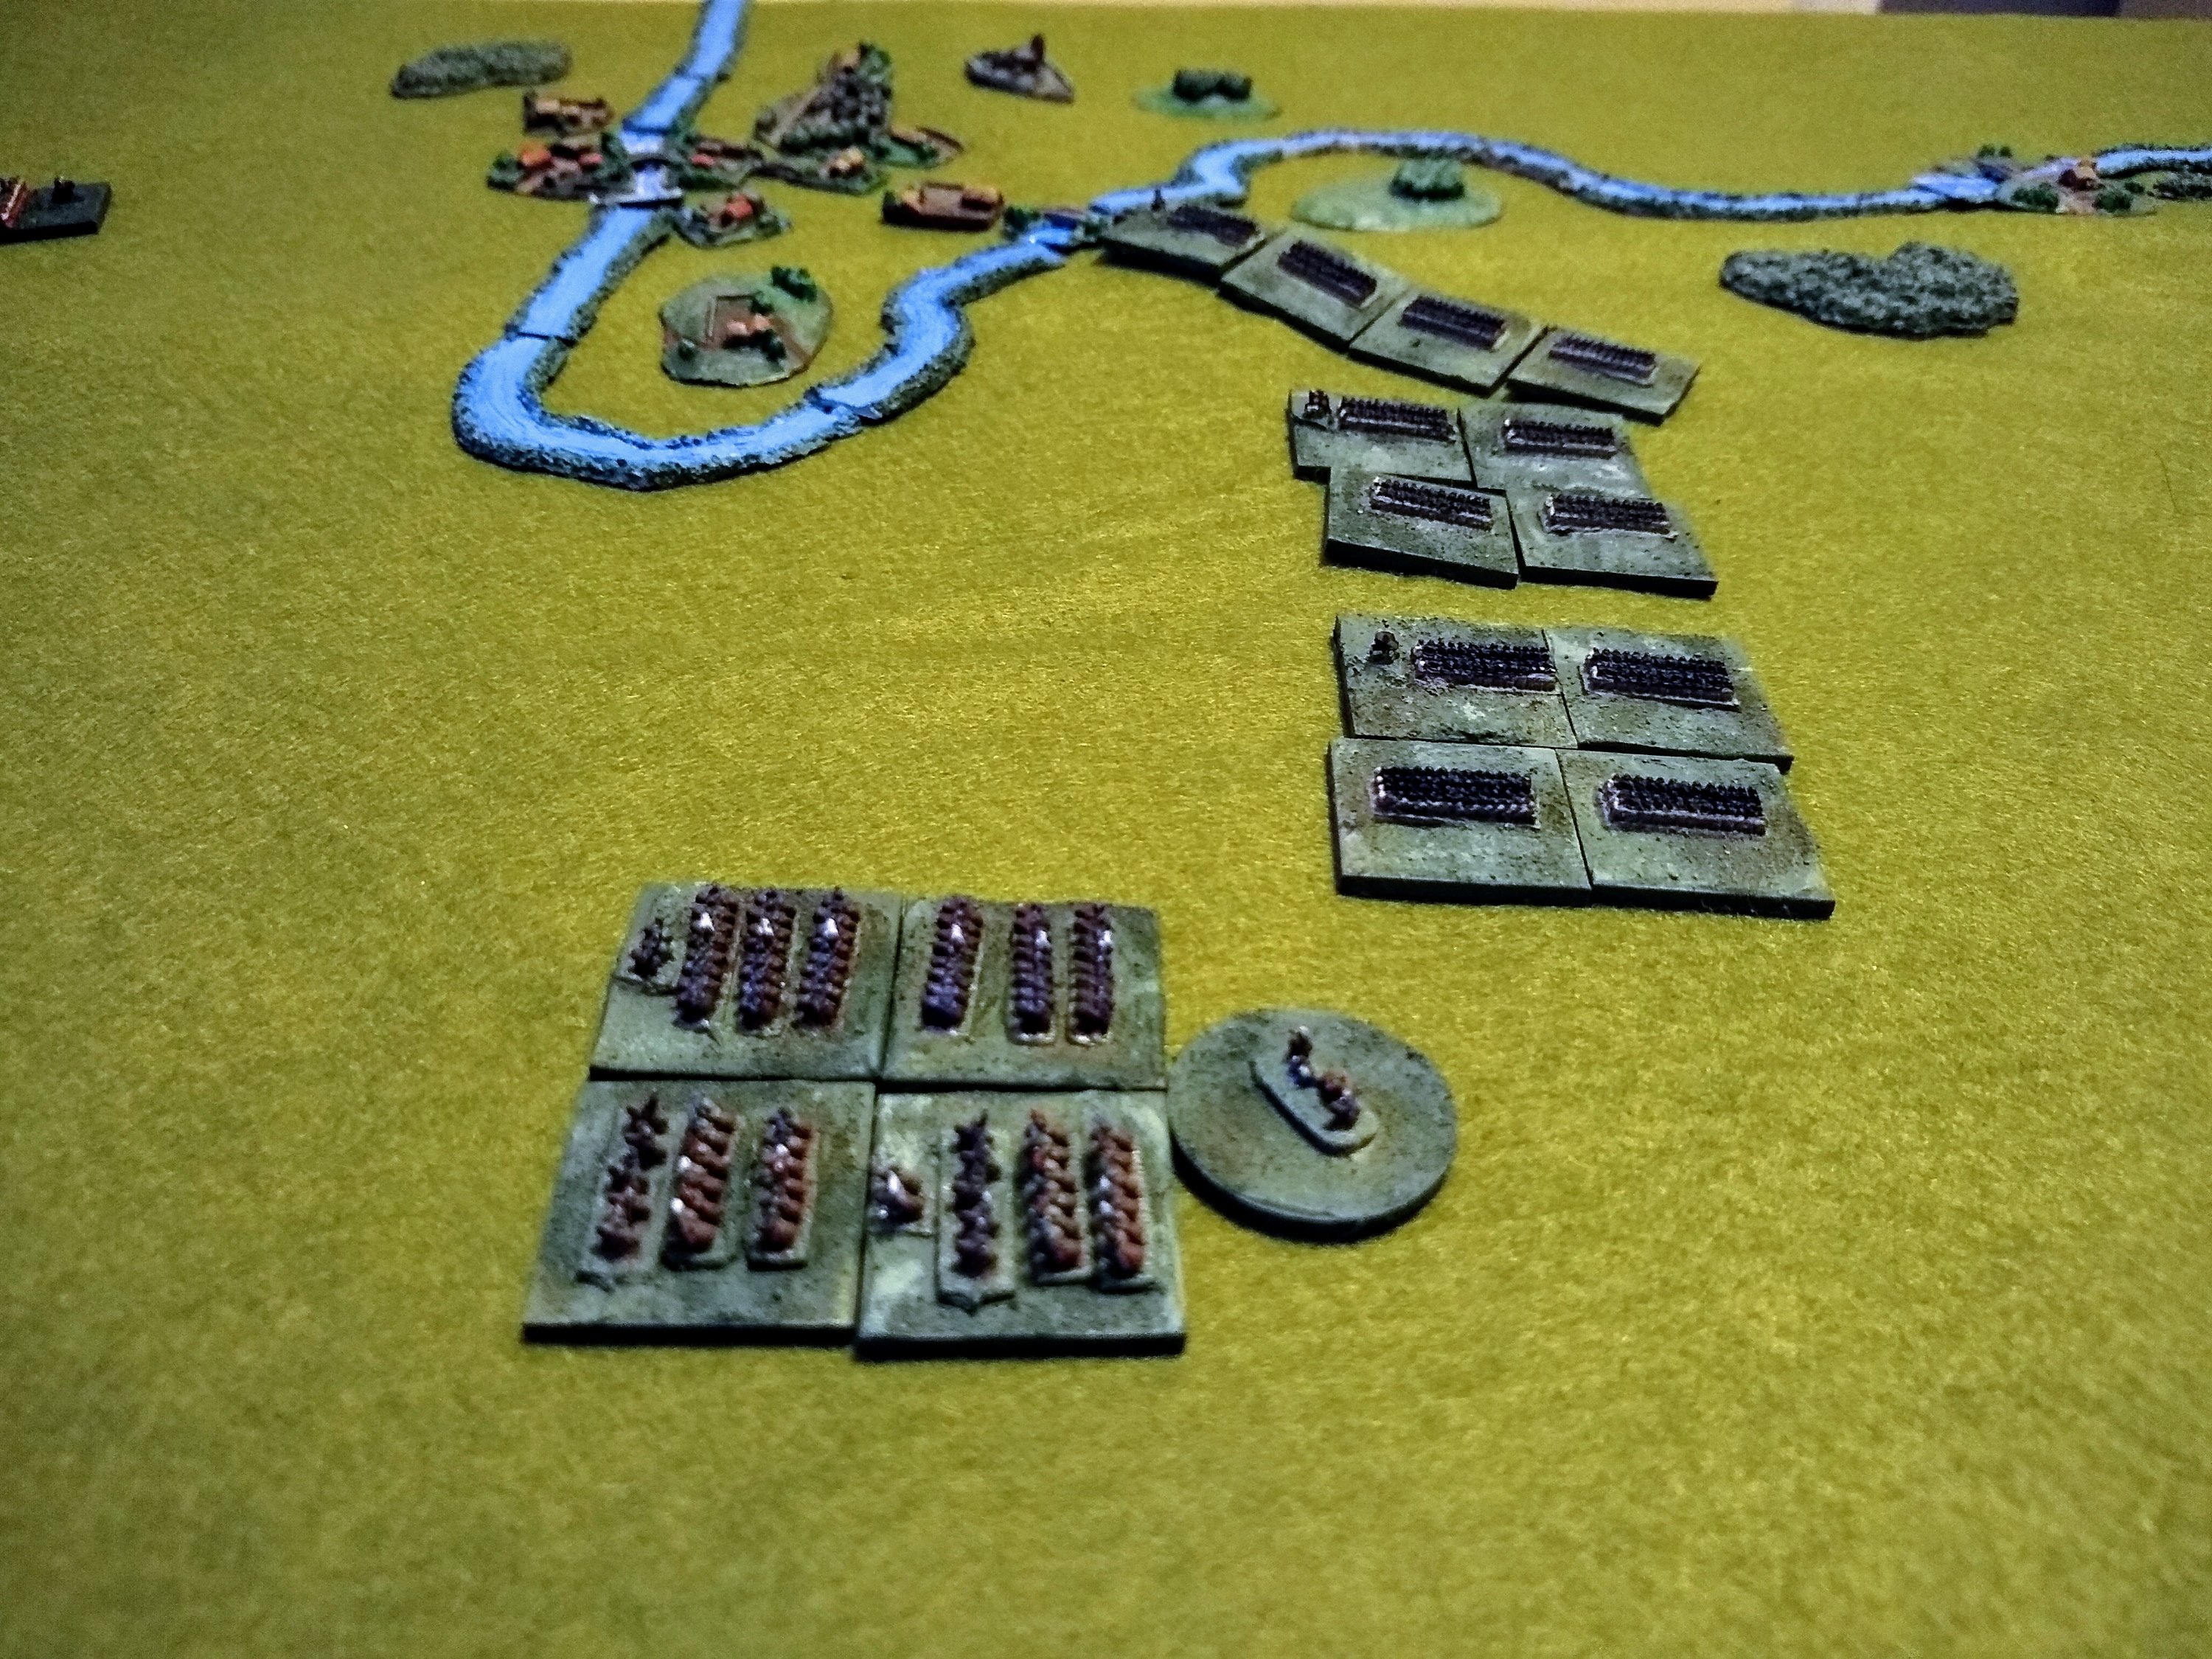
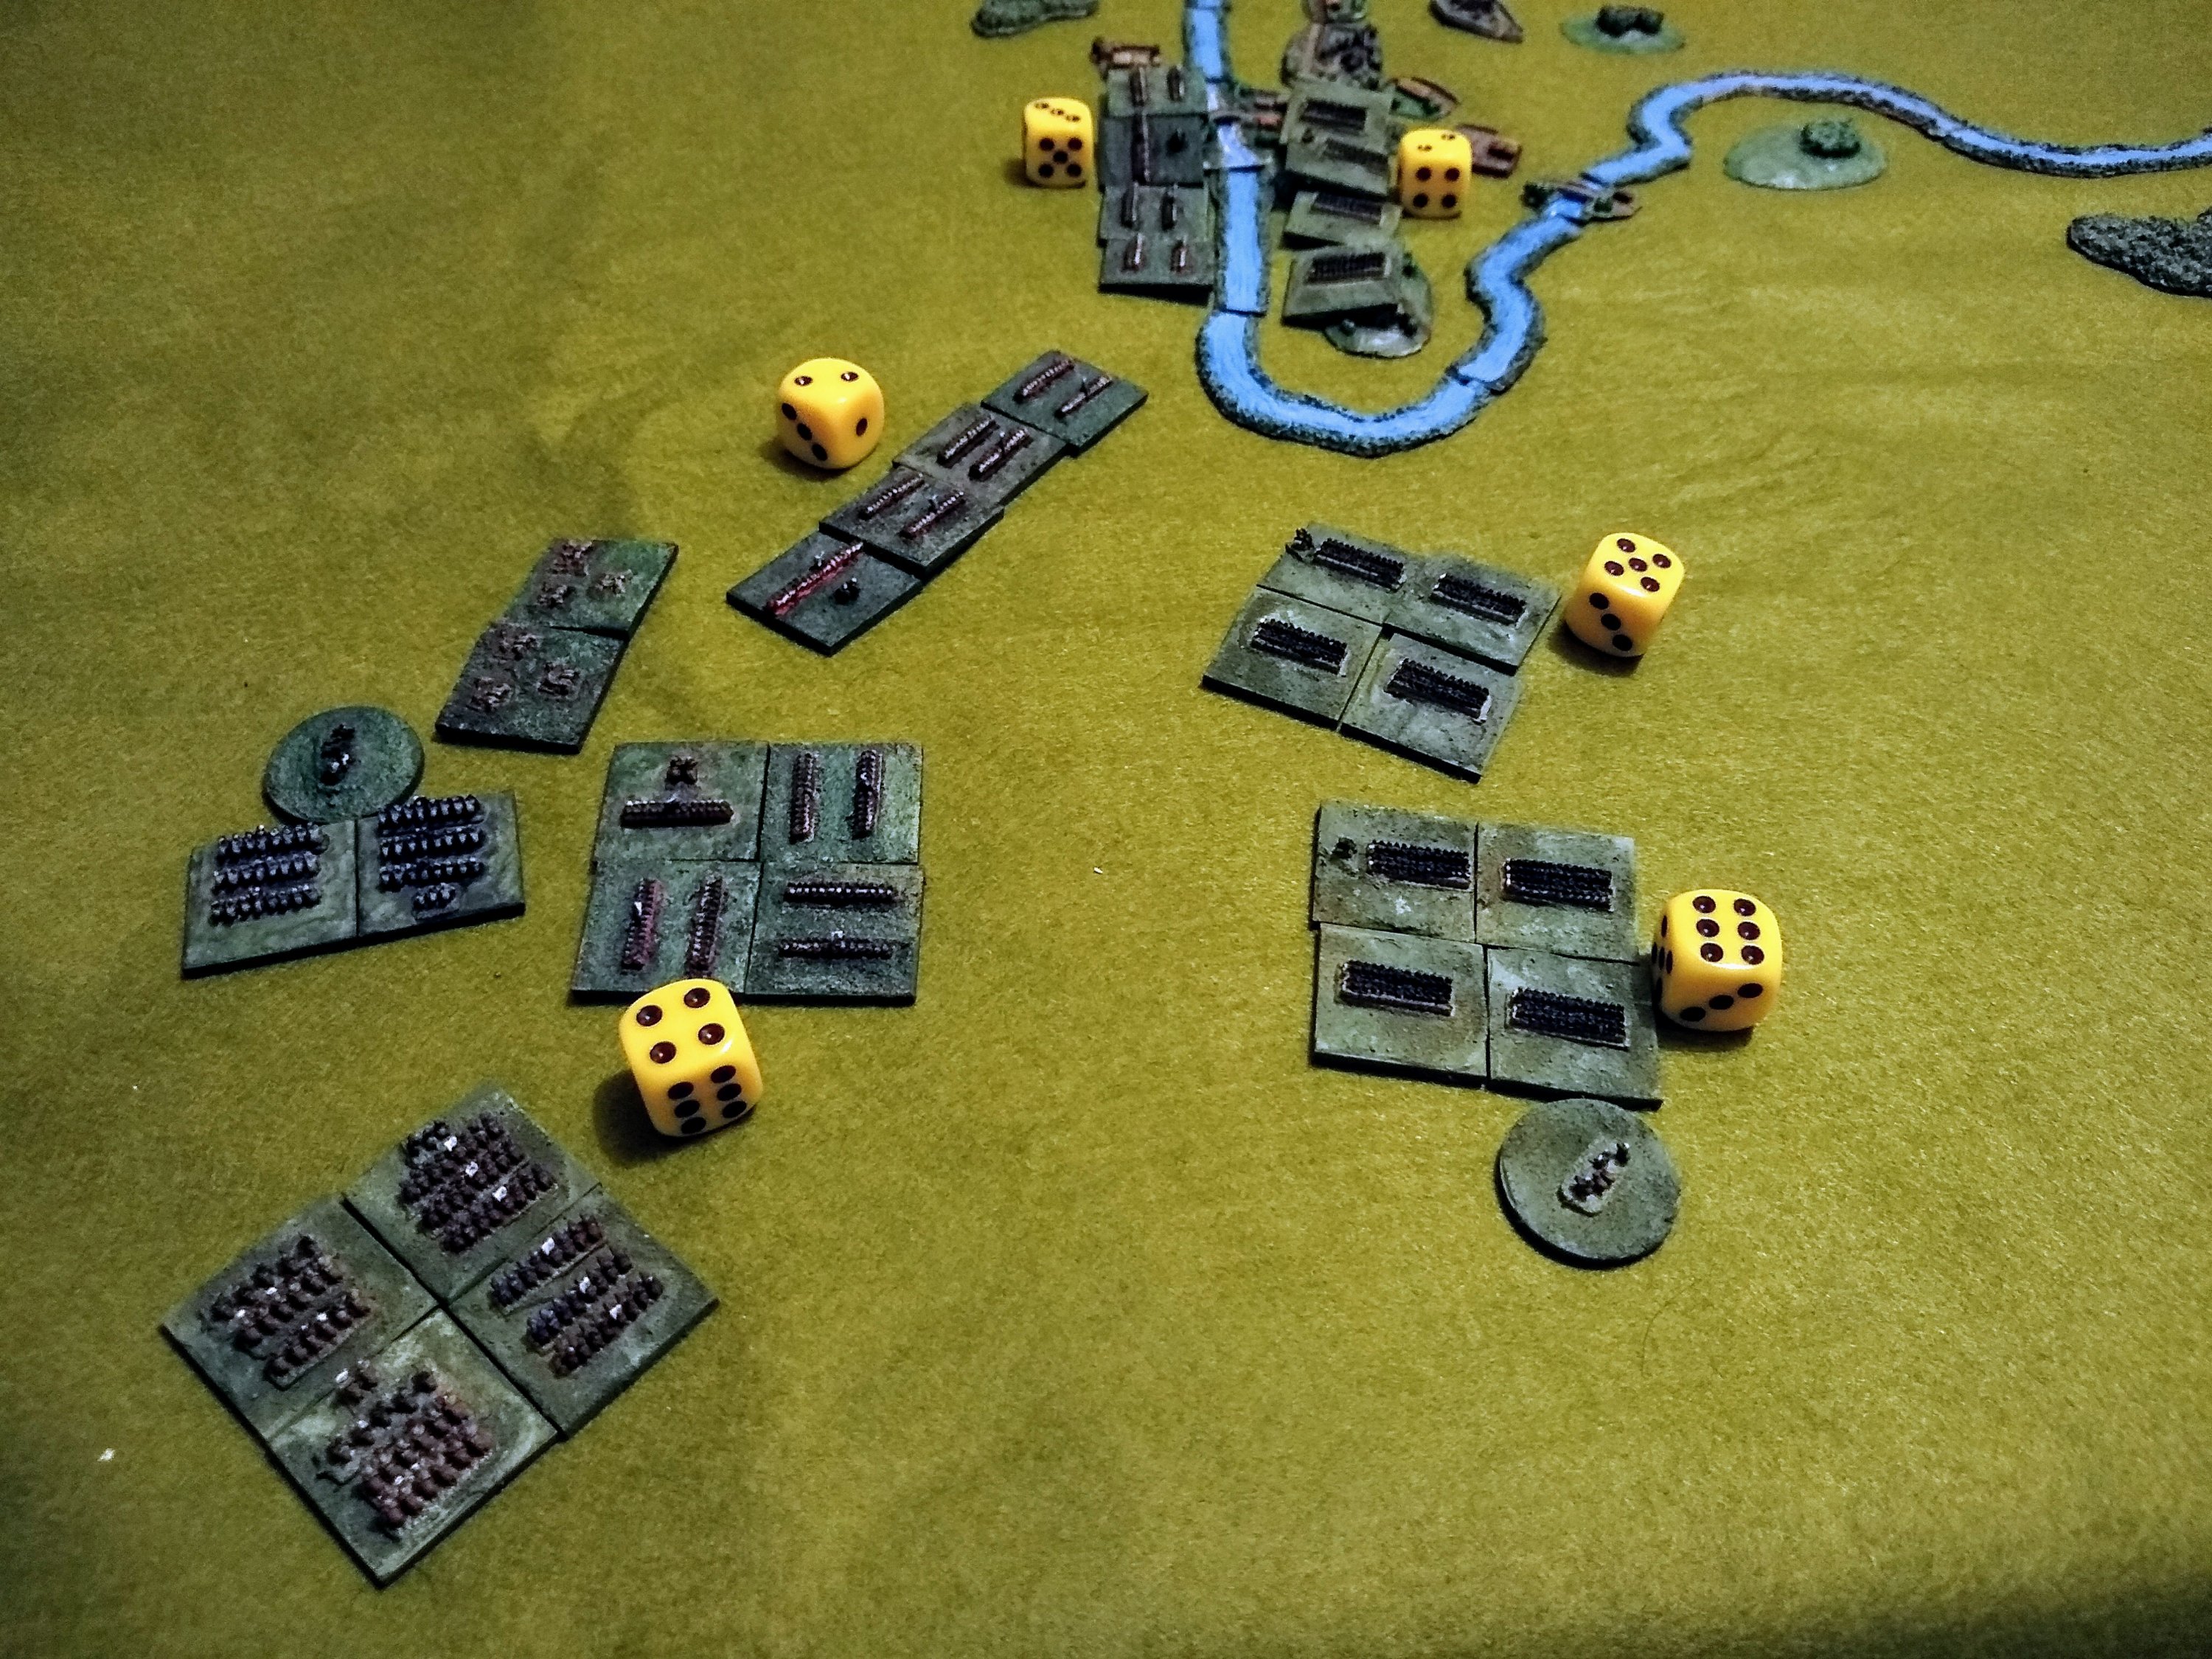
Korichnevyy forms his units into assault columns, planning to move forwards quickly and break through the enemy formations, while Ruddy shakes his columns out into lines, hoping to pour fire down on the oncoming assault. On the far flank the thundering advance of the Brunvinian heavy cavalry forces one unit of infantry to pull back into a square formation.
The Brunvinians seize the town, quickly forming a defensive line along the bank of the river, taking positions behind walls and in buildings near the western bridge. The Redovians form up along the bank and the two sides exchange fire, the exposed Redovians taking the brunt of it.

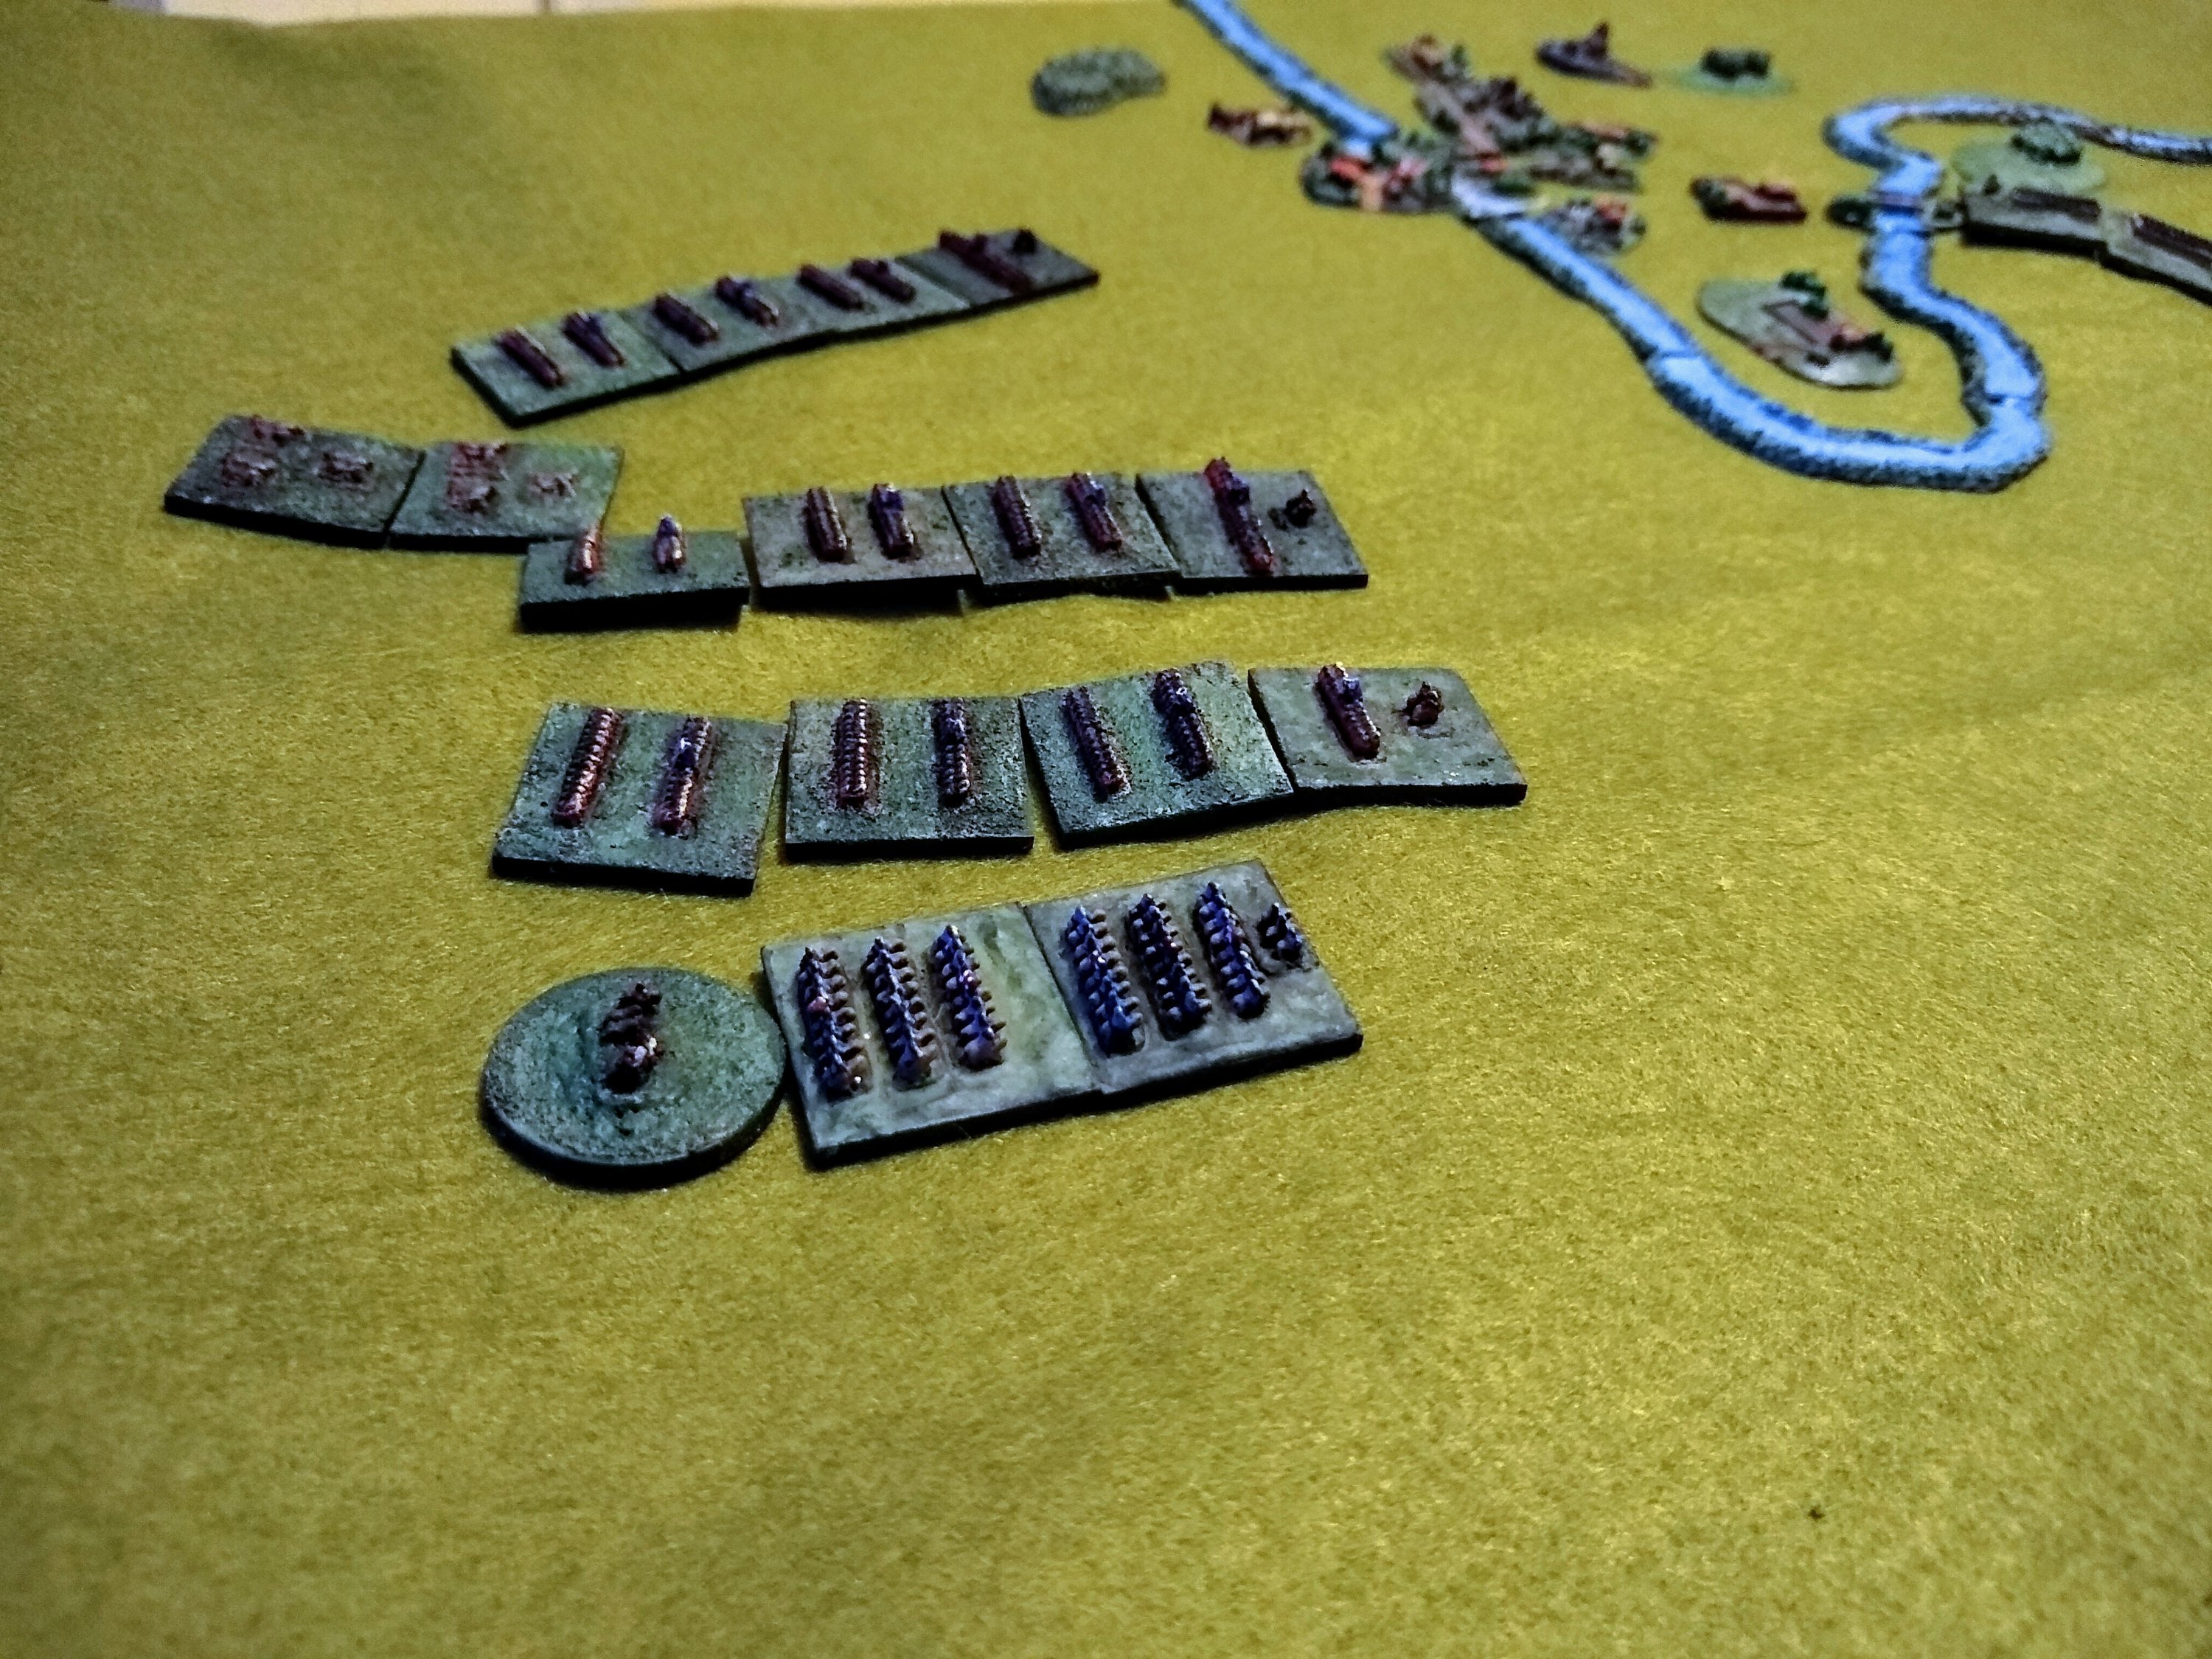
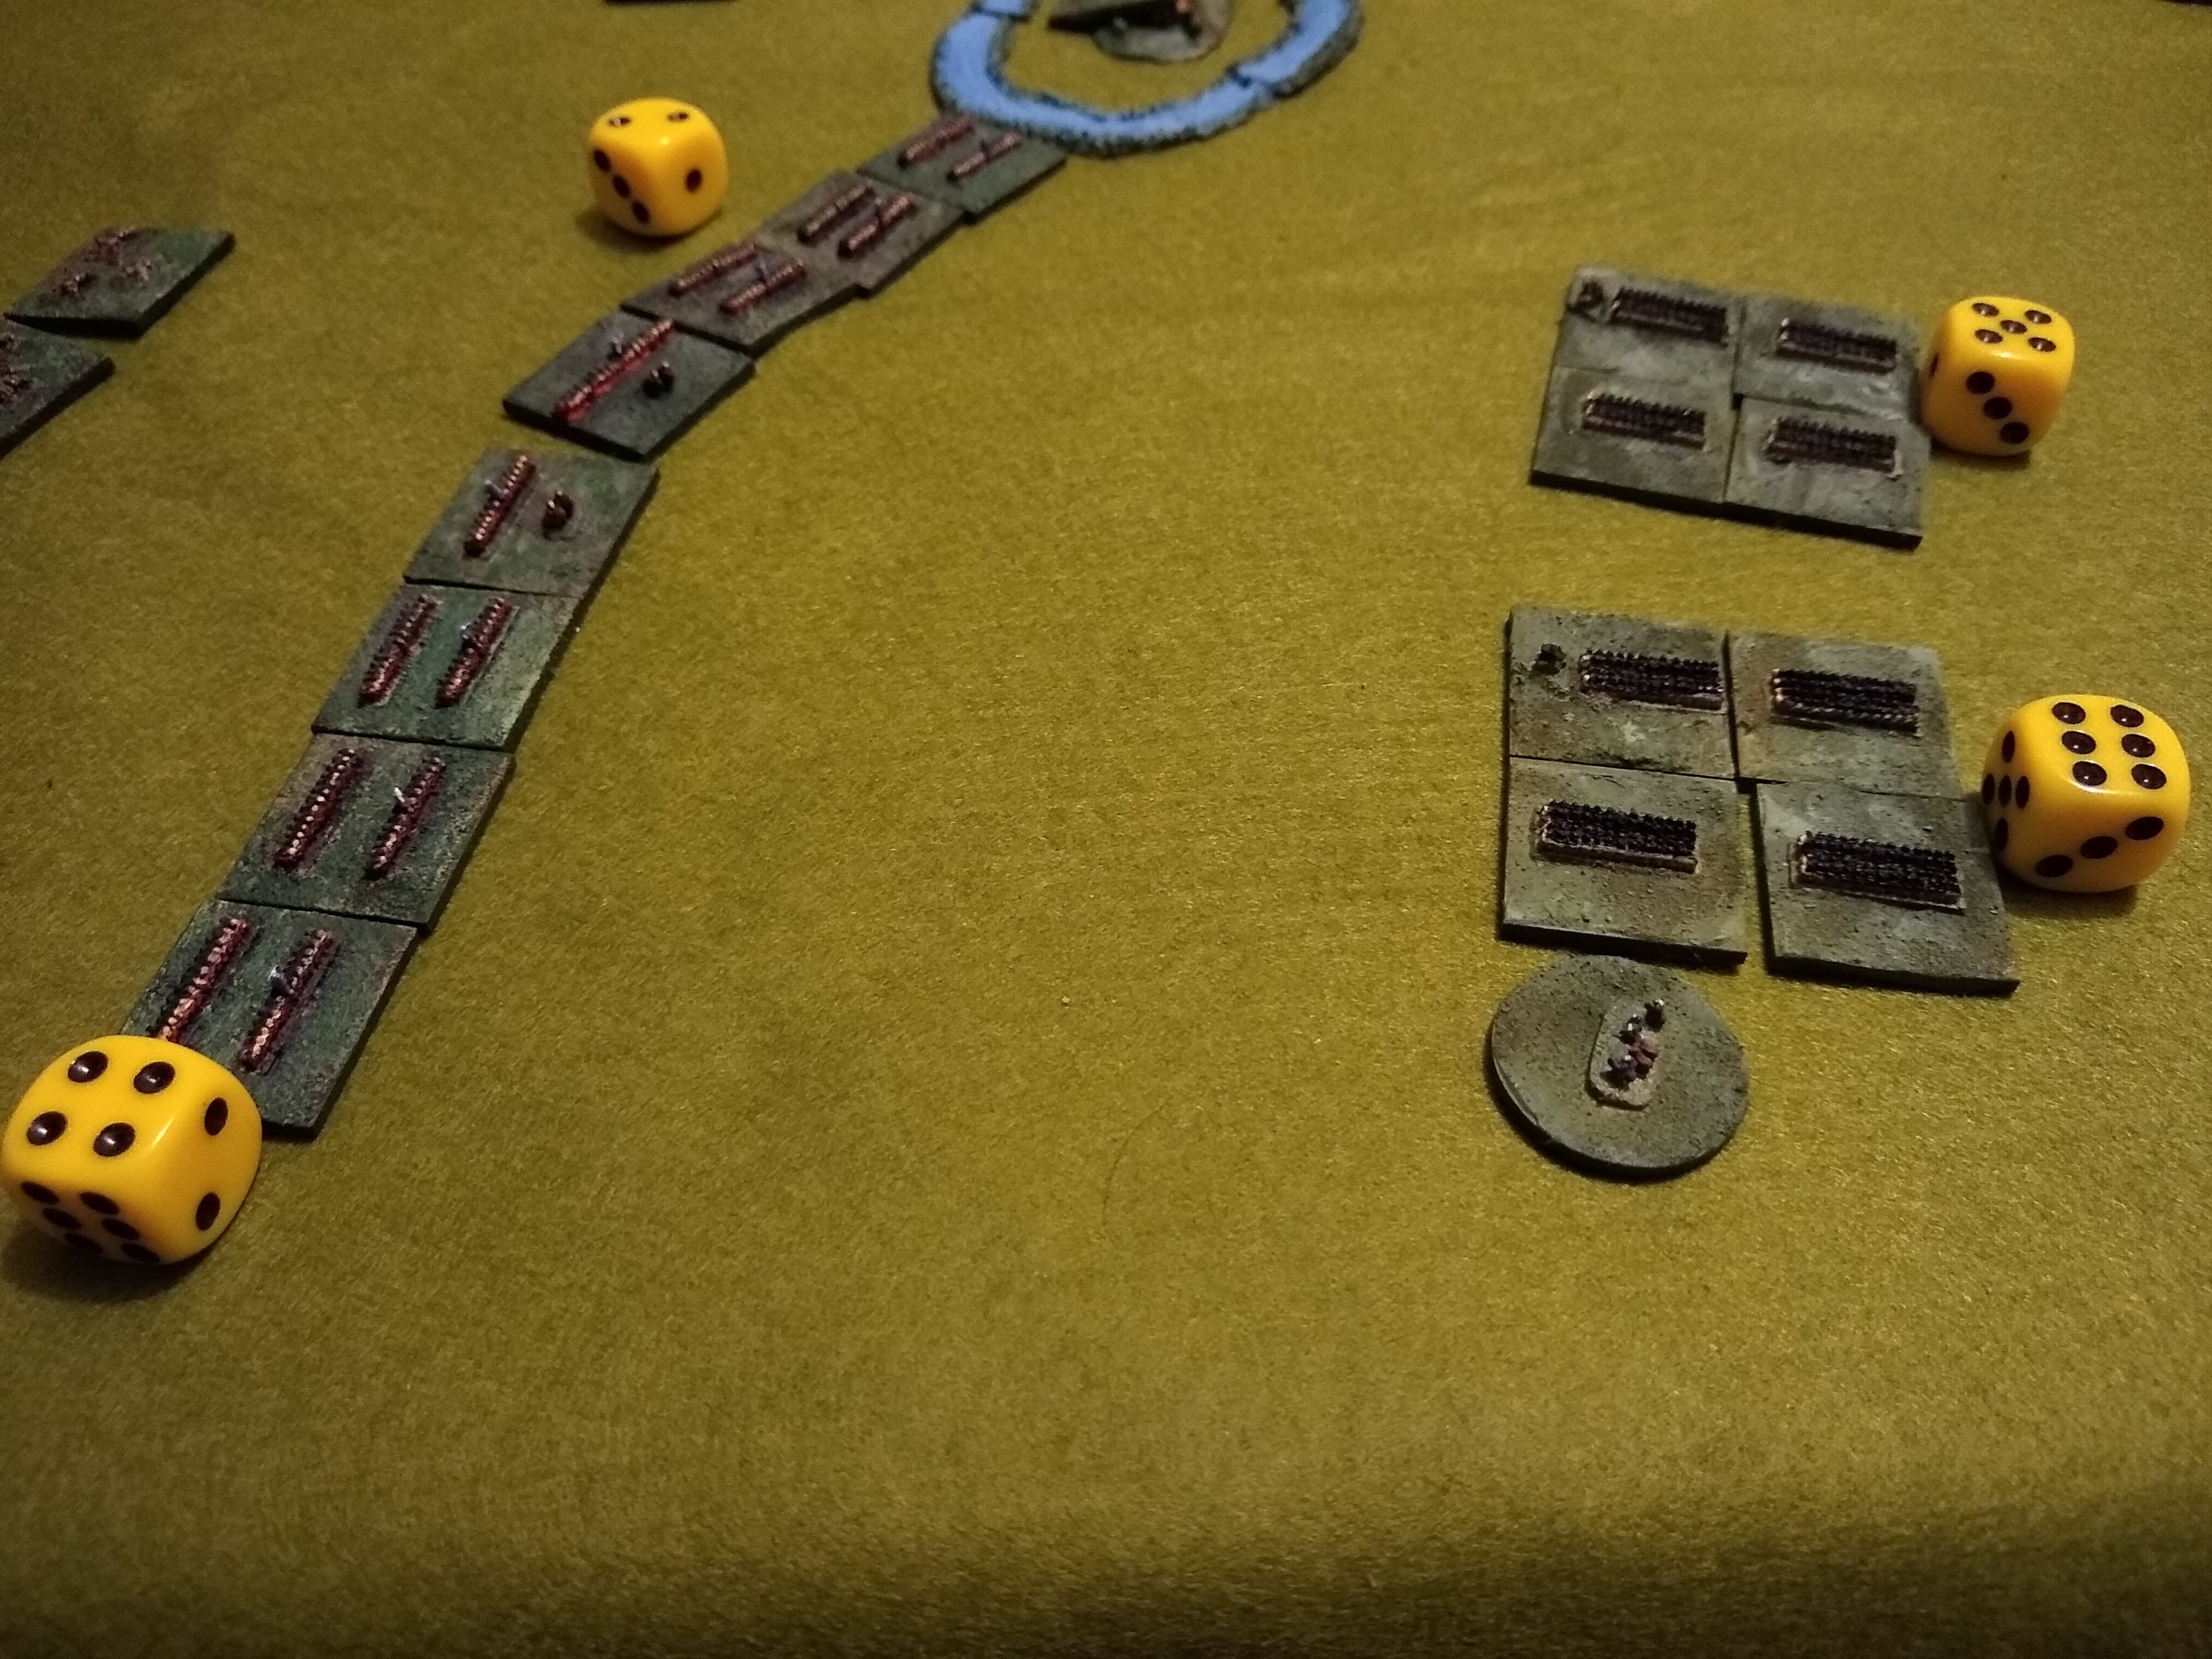
As the Brunvinian forces move up on the Redovian defensive line in the field they suffer heavily under the withering fire from the red jacketed devils.
With a dash of elan the Brunvinians charge home against the Redovians. Their assault columns exchange a brief range of fire before giving them a taste of steel, but the short range gunfire from the Redovian lines combined with their own glittering bayonets manage to drive back the assault, holding themselves in check as the Brunvinians fall back, licking their wounds.
Meanwhile the cavalry charge into each other with great shouts, and even though the Brunvinians have the numerical superiority, the Redovian horse men, like their infantry counterparts, are able to drive back the Brunvinians hordes.
Things don’t go so well for the Redovians at the town though as the onslaught from the entrenched Brunvinians pushes them back, taking heavy casualties.

On the field, the Redovian infantry pushes forwards, taking the fight to the Brunvinians before they can fully rally. The Brunvinians pull back into line, hoping their firepower can hold off the red devils bearing down on them. Black smoke rolls across the field of battle as the two sides exchange volley after volley, but the Brunvinians, disordered from their failed assault see their casualties mount and the Brunvinian infanty breaks and runs.
With the backbone of their army routing from the field, the heavy cavalry choose not to pursue the fight and break off themselves, leaving the last infantry unit trapped in the town with the enemy encroaching on multiple sides. Surrender is their only option. The day is won for the glory of the Redovian Commonwealth and this will provide them with a key position from which to prepare strikes into the hated Brunvinian heartland. General Sir “Ruddy” Hugh surveys the town so many of his men died to take and with a nod to his senior officers declares for all to hear “Well that was a good old fight chaps, now lets see where they keep the wine cellars.”
As this was my first outing with the rules, I’m pretty sure I got a lot of stuff wrong. I’ll read them through again soon to get to grips with what I messed up, and while I was pretty shuddering at the start of the game checking on everything, by the end things were moving more swiftly and I had a good sense of the core rules without needing to check the reference sheet too often.
I haven’t played any of Kieth Flint’s previous rule offerings but have heard good reports. I can see how these rules could play very well on much bigger games. Obviously this was a very small sample, in a normal game this would be just one corner of a larger battle field, but they still gave a good pace of play for a quick game. Adding on extra divisions to command would not be too onerous for the player(s) and I imagine give a much more satisfying game.
There were a few bits I was a little unclear on. One was the fallback mechanic, I only halfway through realised it was meant to be dictated by an average dice. As I don’t own any average dice I went with what I’d been doing thus far and had them fall back a single movement. I didn’t really get to use my artillery either, mostly through poor manoeuvring it ended up stuck behind infantry most of the game.
I’m generally not a huge fan of a lot of wound tracking, and at 7 hits to rout a unit I was expecting it to be a bit of a slog. But without any save mechanic (beyond rallying off hits when out of attack range or with a general present) the damage mounted pretty quickly and combat felt brutal and decisive, which is what I would expect. As there are different statuses depending on the amount of wounds, subtle tokens could be used to reduce table clutter or dice or casualty bases could be used, perhaps a bigger one when they’ve taken enough hits to be “Weakened”, meaning there never needs to be more than a few casualty tokens out at a time.
Overall I enjoyed the play. Unfortunately I felt just as I was getting to grips with it the game was over, but that was mostly due to the small scale of game I set up. I’ll be keen to try them out again now I’ve got the basics down, and once I’ve had another read-through. With it being fairly quick to play I could probably fit a game like that in an hour, give or take 10 mins for setup/teardown. At some point down the line I may even try a bigger multi division game, though I suspect I’ll have to use my 2D counters for that, or paint up some more 2mm (sorry Keith)!
I’m not quite ready to be dive headfirst into the depths of Nappies (not just because it sounds so wrong), but the first steps on the path have been fairly positive. I have a few books and lecture series lined up to start getting into the history of it in a bit more depth in the future, which I’m sure will inspire me and I can see how the combat, formation changes and manoeuvre attract people to the period. It’s a different vibe from the ancient/medieval warfare I’ve mostly focused on up to now, with a lot of fun potential.
Thanks for reading,
Matthew

Nice AAR and I too, like you Matt, have held off from Nappies due to the sheer variety of tactics, uniforms etc over the period fought. It is a daunting period and one that has its rivet counting adherents that can be off putting to say the least.
LikeLiked by 1 person
Thanks for giving the rules an outing. Using a single normal move for fallback is fine, but using dice adds a bit of interest, as the fallback may be too much to allow for a pursuit to make contact, or alternatively leave the retiring unit subject to a devastating follow-up. If you don’t have average die, use 2D6.
LikeLike
Yes, I may try that next time, I can see how it would allow a bit more flexibility in the follow up rather than a standard back and forth. Would potentially make it easier (or harder!) to get to rally distance.
LikeLike